
- How do you properly plan a bathroom remodel and handle demolition without making costly mistakes?
- What structural changes and utility installations should be completed before closing the walls?
- Why are proper insulation and waterproofing essential for a long-lasting bathroom?
- How can you ensure accurate tile installation and avoid uneven surfaces or layout issues?
- When and how should cabinets and finishing elements be installed for the best results?
- What happens during the final stage of a bathroom remodel, and what should you check before completion?
Embarking on a bathroom renovation is one of the most rewarding home improvement projects a homeowner can undertake. It adds significant value to your property and drastically improves your daily quality of life. However, without a clear roadmap, this project can quickly devolve into a logistical nightmare. In the professional remodeling industry, we often see enthusiastic DIYers and even some inexperienced contractors dive in headfirst without understanding the critical sequence of operations. This leads to “rework,” which is the most expensive word in the construction dictionary.
Understanding the proper order of operations ensures that you do not have to tear out a beautiful new floor because you forgot to upgrade a pipe, or damage a freshly painted wall while installing a heavy vanity. This comprehensive guide provides a professional blueprint for a successful bathroom remodel, moving from the initial vision to the final polish. We will explore why the “bones” of the room matter more than the “jewelry” and how to manage the transition from demolition to the finishing touches.
Phase 1: Planning, Design, and The Surgical Demolition
Before a single tile is chipped away, the most important work happens on paper. In the professional remodeling world, we call this the pre-construction phase. You must have a finalized design, a realistic budget, and all your permits in place. Changing your mind about a shower head location once the walls are closed is a budget killer. During this stage, you should select every single component, from the bathtub to the grout color. Many homeowners begin their journey by searching for bathroom remodeling near me to find inspiration or professional galleries, but the real work starts with a spreadsheet and a tape measure.
Once the planning is solidified, the physical work begins with demolition. This is more than just swinging a sledgehammer. Professional demolition is a surgical process designed to protect the integrity of the home.
- Utility Shut-off and Safety: Always ensure water and electricity are disconnected to the room before starting. Locate your main shut-off valve just in case a localized valve fails.
- Containment and Protection: Seal off the rest of the house with heavy-duty plastic barriers and use a HEPA air scrubber to prevent fine dust from migrating into bedrooms and kitchens. Cover hallways with floor protection.
- The Systematic Tear Out: Generally, we start from the top and move down. This means removing the vanity, then the medicine cabinet, then the toilet, then the tub or shower surround, and finally the flooring.
- The Discovery Phase: Once the room is stripped to the studs and the subfloor is exposed, we conduct a deep inspection. This is the only time you can easily fix structural issues caused by years of hidden leaks. We look for sistering floor joists that have rotted or replacing plywood that has delaminated due to moisture.
Skipping a thorough inspection at this stage is a common mistake. If the subfloor is soft or the studs show signs of mold, you must address these foundational issues before moving forward. It is much cheaper to fix a joist now than to watch your new tile floor crack in six months because the structure is flexing.
Phase 2: Structural Changes and Rough-in Utilities
With the room down to its bones, it is time to install the “guts” of the bathroom. This phase is critical because once the walls are closed, access becomes incredibly difficult and expensive. If you are moving a toilet three feet to the left or adding a double vanity where a single once stood, this is when the heavy lifting happens.
Rough-in Plumbing
Plumbers will install the new drain lines, supply lines, and the shower valve. In modern remodeling, we highly recommend upgrading old galvanized pipes to PEX or copper to ensure longevity. This is also the time to decide if you want a wall-mounted faucet, which requires precise blocking and plumbing placement within the wall cavity. We also install the shower pan or the bathtub at this stage. Setting a tub early allows us to build the walls around it for a seamless, water-tight fit. Ensure the tub is leveled and “set in a bed” of mortar or spray foam to prevent it from flexing and creaking when you step into it.
Electrical Upgrades and Load Management
An expert electrician will run dedicated circuits for high-draw items like heated floors, steam generators, or powerful exhaust fans. We also position the junction boxes for vanity lights, recessed cans, and outlets. All bathroom outlets must be GFCI protected to meet modern safety codes. Consider adding “future-proof” features now, such as an outlet hidden inside a vanity drawer for hair dryers or a low-voltage line for a backlit mirror.
HVAC and Essential Ventilation
Never underestimate the importance of a high-quality exhaust fan. We install the ductwork and the fan housing now. Proper ventilation is the only way to protect your investment from mold and mildew in the years to come. Ensure the ducting exhausts directly to the outside of the home, not just into the attic space, which is a common but disastrous shortcut.
Phase 3: The Shell – Insulation, Drywall, and Waterproofing
Once the inspections for plumbing and electrical are passed by the local building department, we begin to close the walls. This is where the bathroom starts to look like a room again. However, the materials used here are vastly different from those used in a bedroom or living room.
In the remodeling industry, we prioritize moisture management above all else. Standard drywall has no place in a shower. Instead, we use cement board or specialized foam backer boards. These materials do not rot or lose structural integrity when exposed to water.
Advanced Waterproofing Systems
This is perhaps the most vital step in the entire sequence. We apply a liquid-applied waterproofing membrane or a sheet membrane over the backer boards. This creates a “tanked” environment. Even if water gets behind your tile (and it eventually will, as grout is inherently porous), the waterproofing layer ensures it stays within the wet area and drains properly. Pay special attention to the “change of plane” (the corners), where a waterproof tape or sealant should be used.
Wall Preparation
After the wet areas are secured, the rest of the walls are covered with moisture-resistant “green board” or “purple board” drywall. We then tape, mud, and sand the joints to create a smooth surface for painting. For the highest quality finish, a “Level 5” drywall finish is recommended, especially if you have bright vanity lights that might highlight any imperfections in the wall.
Phase 4: Flooring and Precision Tile Installation
With the walls prepped and waterproofed, we move to the aesthetic foundation: the tile. Many people wonder if the floor or the wall comes first. While there are different schools of thought, the industry standard is often to tile the shower floor first, then the walls, and finally the main bathroom floor.
- Floor Prep: We start by ensuring the subfloor is perfectly level. We might use a self-leveling underlayment to create a flat plane. Any dip in the floor will cause “lippage,” where one tile sits higher than the neighbor, creating a tripping hazard.
- Layout Planning: We spend hours on the layout before mixing any mortar. We want to ensure that we don’t end up with a tiny “sliver” of tile against the vanity or the tub. We use laser levels to project perfectly straight lines across the room.
- Tile Installation: Using the correct thin-set mortar is vital. Large format tiles require a “Large and Heavy Tile” (LHT) mortar to prevent the tiles from sinking.
- Grouting and Sealing: After the mortar has cured (usually 24 hours), we apply grout. For bathrooms, we always suggest high-performance epoxy or urethane grouts that are stain-resistant and do not require frequent sealing. If you choose a natural stone tile, it must be sealed before and after grouting to prevent the grout pigment from staining the stone.
Tiling is the “permanent” part of the remodel. Mistakes here are very difficult to fix, so we emphasize slow, methodical work.
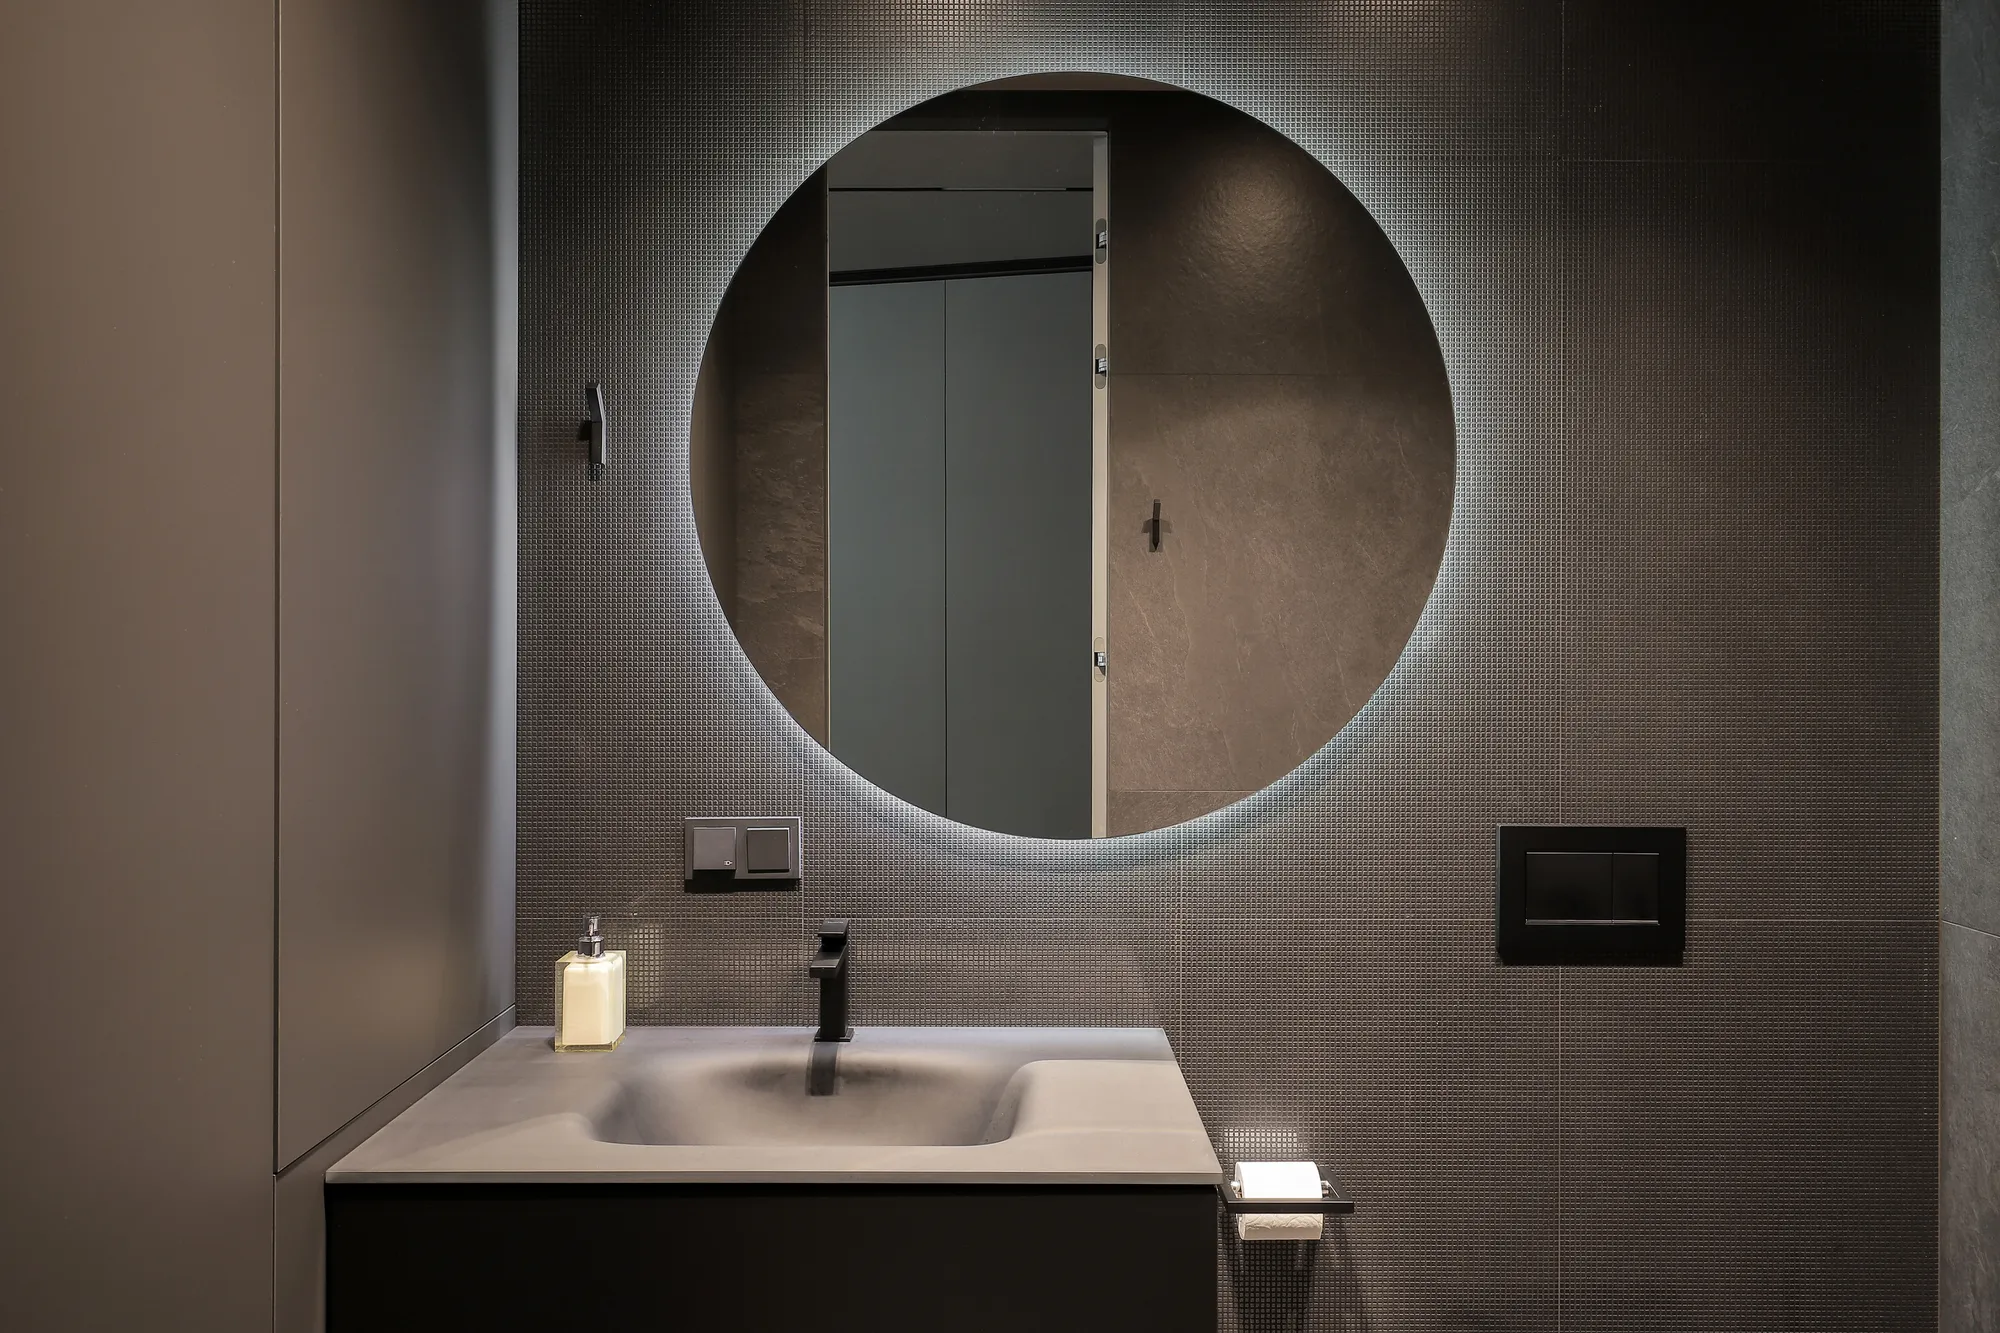
Phase 5: Cabinetry, Countertops, and Surface Finishing
Now that the “heavy” construction and wet work are finished, the room enters the finish phase. This is where the style of the bathroom truly emerges and the space begins to feel functional.
Vanity Installation
We install the vanity cabinet, ensuring it is perfectly level and securely anchored to the wall studs. This is more difficult than it sounds, as bathroom floors are rarely perfectly flat. We use shims to level the cabinet and then cover those shims with a toe-kick or base molding. Once the cabinet is in place, the countertop is templated or installed. If you have chosen a stone top like quartz or marble, it is vital to have the vanity leveled first to prevent cracking the stone later.
The Painting Process
Professional remodelers often prefer to paint the walls after the vanity is installed but before the toilet and final trim are in place. This gives the painter more room to maneuver around the plumbing fixtures. Always use a paint with a semi-gloss or satin finish specifically formulated for bathrooms to resist moisture and scrubbing. Do not forget to paint the ceiling with a moisture-resistant flat paint to prevent peeling.
Mirror and Trim Work
We install the baseboards, window casings, and any decorative crown molding. This is also the time to hang the mirrors. If you are using a heavy “medicine cabinet” style mirror, ensure you have adequate blocking installed in the wall from Phase 2.
Phase 6: Final Fixtures, The Trim-out, and The Big Reveal
The final phase is the most satisfying. It is the installation of the “jewelry” of the bathroom. We call this the “trim-out” phase, where all the individual components come together to create a cohesive whole.
- Plumbing Trim: The plumber returns to install the sink faucets, the shower heads, the handheld sprayers, and the toilet. They will also hook up the vanity drains and test the system for leaks. We typically run the water for 15 to 20 minutes to ensure every connection is bone dry.
- Electrical Trim: We install the light fixtures, the outlet covers, the switch plates, and the exhaust fan grilles. This is when the room finally becomes bright and inviting.
- Hardware and Accessories: This includes towel bars, robe hooks, toilet paper holders, and cabinet pulls. While these seem like small details, they tie the entire design together. We use specialized drill bits to go through the tile for these items to avoid cracking.
- Custom Glass: If you are installing custom glass shower doors, this is usually the very last step. We wait until the tile is completely finished so the glass company can take exact measurements for a perfect fit. Even a 1/8 inch deviation in the wall can affect how a glass door swings.
- Final Caulking: We apply a high-quality 100% silicone caulk where the vanity meets the wall, where the tub meets the floor, and in the corners of the shower. Silicone is flexible and waterproof, making it superior to standard latex caulk in wet environments.
Whether you are planning a comprehensive bathroom remodel in Hanover Park, IL, or simply updating a small guest bath elsewhere, following these local codes and sequences is non-negotiable for a lasting result. The complexity of these systems is exactly why many homeowners decide to search for professional remodeling contractors near me to handle the heavy lifting. The very last step is a deep clean to remove all construction dust and a final walkthrough. We check for leaks, test every outlet, and ensure that the drawers and doors operate smoothly. By following this strict order of operations, you minimize stress, protect your materials, and ensure a professional result that will last for decades.
